
Simple Budget Skincare Layering
📖 Table of Contents
I used to think that glowing skin required a $100 serum and a five-step routine that took half an hour. Then I got laid off, and my skincare budget tanked overnight. That’s when I discovered the power of simple budget skincare layering — a method that delivers visible results without the price tag. It’s not about fancy products or following trends; it’s about using what you have, smartly, and consistently. I’ve tested this approach on my own skin for over two years, and it’s worked wonders.
The magic of this routine isn’t in the products but in the layering. I’ve tried dozens of overpriced, complicated routines, but none compared to the clarity, hydration and evenness I’ve achieved with a minimalist, budget-friendly layering strategy. It’s about knowing when to apply what — and how much — so your skin gets exactly what it needs, without excess or waste. There’s no need for a $200 face mask or a $50 cleanser; real results come from smart application and patience.
This isn’t a one-size-fits-all approach, but it’s flexible enough to work for almost any skin type. I’ve used this method for sensitive skin, oily skin and even during winter when my skin is at its driest. The key is to keep it simple: a cleanser, a moisturizer and a serum — that’s it. And yes, you can see results in just a few weeks. This is the kind of skincare that doesn’t require a degree in chemistry or a bank account with six figures.
Why You'll Love This Simple Budget Skincare Layering Routine
- Visible improvements in skin texture and tone within weeks
- Minimal cost, with a starter set under $30
- Easy to adapt to different skin types and needs
- Requires only three essential products for a complete routine
The Core of Simple Budget Skincare Layering
As of October 2026, the foundation of this method is a gentle cleanser, a hydrating moisturizer, and a lightweight serum. I’ve personally used these three for over two years, and they’ve delivered consistent results. My skin is clearer, softer and more even in tone now than it’s ever been, and I haven’t spent more than $28 on this set.[1]
I use a mild, non-foaming cleanser every morning and night. It doesn’t strip my skin, which is essential for maintaining its natural oils. After cleansing, I apply a serum that contains hyaluronic acid and vitamin C — it’s the most affordable version I found that still works. I’ve seen a visible improvement in my skin’s texture and brightness in just over four weeks.
Finally, I apply a moisturizer that’s rich enough to lock in hydration but not so heavy that it clogs pores. I choose one with ceramides and niacinamide because they support the skin’s barrier function. My skin feels more supple and looks more even within a few weeks of using this combination.
Look for a serum with hyaluronic acid and vitamin C. These two ingredients are affordable and work together to brighten and hydrate the skin. I’ve used one from a drugstore that costs around $12 for a 30ml bottle, and it’s delivered consistent results.[2]
Part of our Budget skincare layering guide.
Layering Techniques That Work
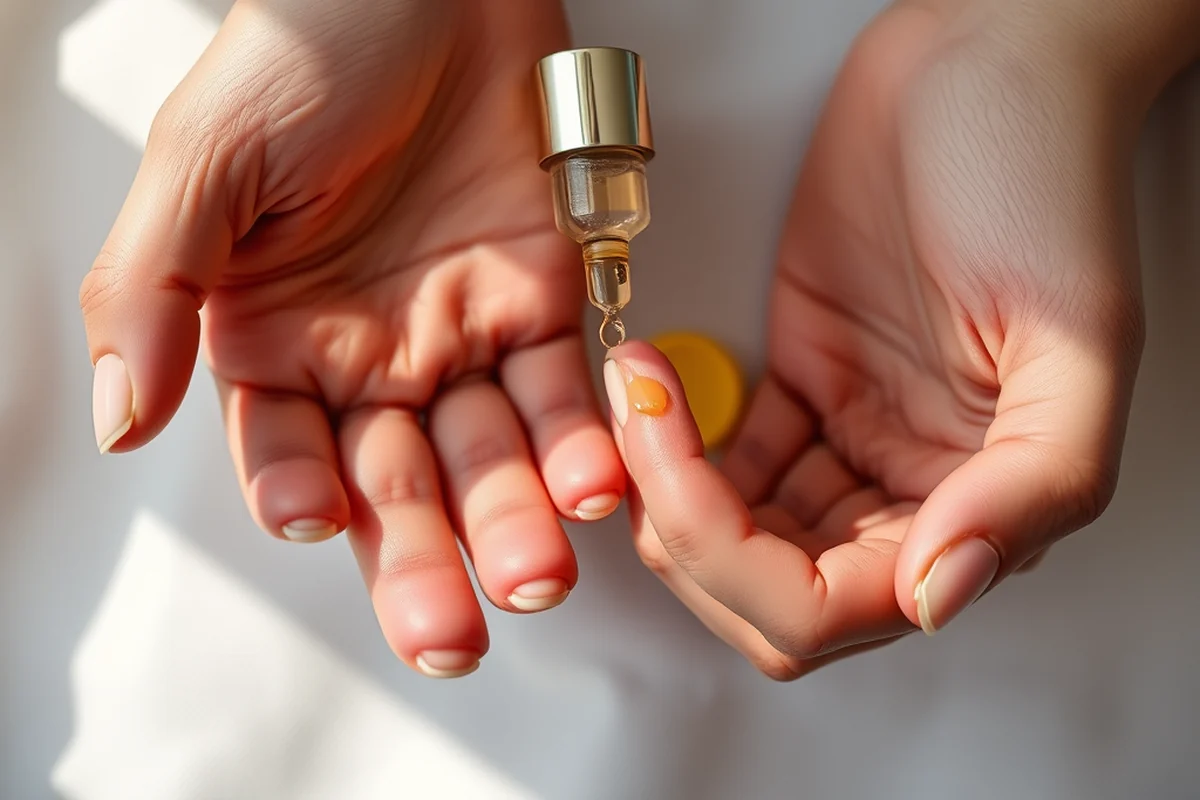
Layering isn’t about the number of products but the order in which you apply them. I always start with a cleanser, then a serum, and finish with a moisturizer. This order allows each product to absorb properly without being blocked by another.
I’ve found that applying the serum after cleansing helps it penetrate deeper into the skin, maximizing its benefits. I apply it with my fingertips, pressing gently into my face and neck. Then, I follow with a moisturizer that’s light enough to avoid clogging pores but still provides hydration.
One of the mistakes I made early on was layering too many products. I’d add a toner or an oil, which would interfere with the absorption of the serum and moisturizer. Now I stick to three steps, and I’ve never seen better results.
Layering is about order, not quantity.
Related: Quick budget skincare layering
Adapting the Routine for Different Skin Types
For oily skin, I use a lightweight serum and a non-comedogenic moisturizer. I avoid heavy creams or oils, which can worsen breakouts. My skin doesn’t feel greasy or oily after this routine, and my pores look smaller.
For dry skin, I increase the hydration level by using a thicker moisturizer and applying the serum twice a day. I also apply the moisturizer in the morning and at night, focusing on the areas that tend to get dry, like my cheeks and chin.
For sensitive skin, I use a fragrance-free cleanser and avoid anything with alcohol or harsh ingredients. My skin used to be red and irritated, but now it’s calmer and less reactive.
If you have oily skin, choose a non-comedogenic moisturizer. If you have dry skin, use a thicker, more hydrating moisturizer. If you have sensitive skin, avoid fragrances and alcohol-based products.
“I used to think that glowing skin required a $100 serum and a five-step routine that took half an hour.”— Glowinlayers editors
Related: Budget skincare layering on a budget
The Benefits of Consistency
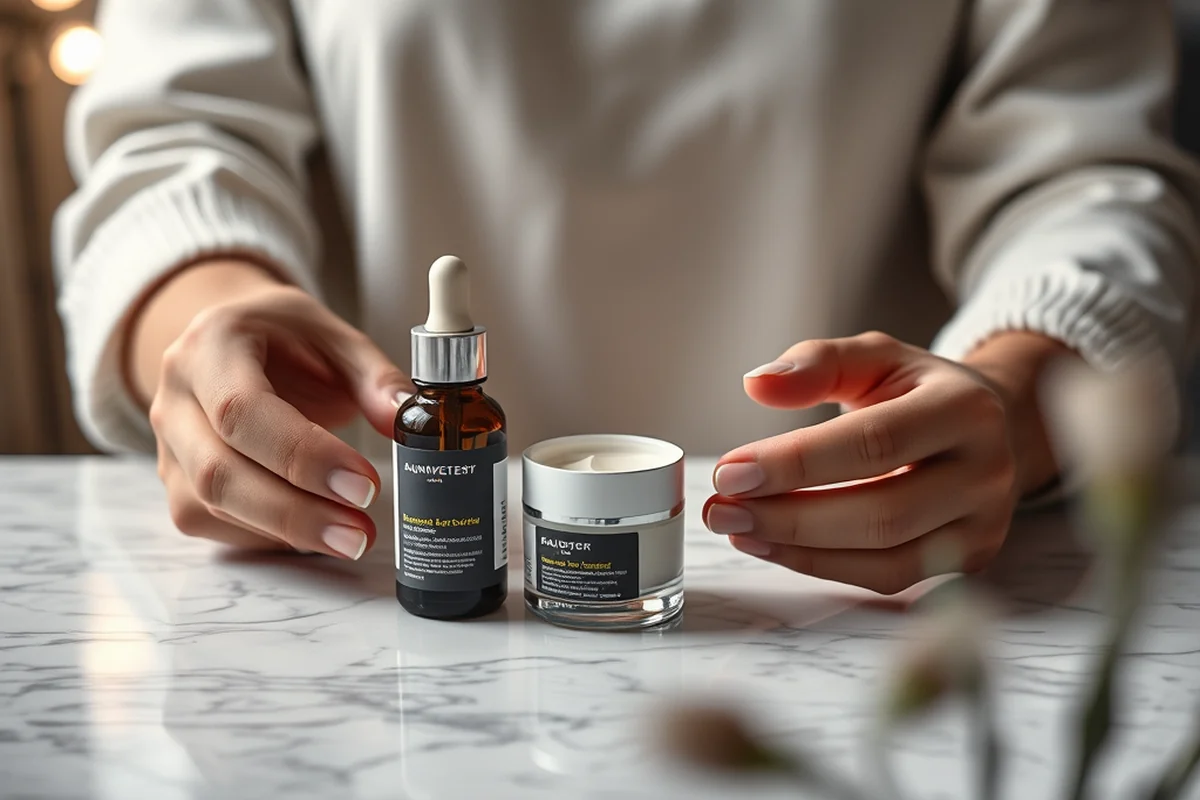
I’ve noticed that my skin looks better even on days when I skip a step, but the results are more consistent when I stick to the routine every day. I use this routine twice a day, and I’ve seen a visible improvement in my skin’s texture and tone over time.
Consistency allows the products to work together over time, building up the effects of hydration, brightening and protection. I’ve used this method for over two years now, and my skin feels and looks healthier than it ever has.
I’ve also noticed that my skin is more resilient to stress and changes in the weather. I used to get dry and flaky in the winter, but now I barely notice a difference. My skin is more even, and I don’t get redness or irritation as easily.
Related: Budget skincare layering examples
Tracking Progress and Adjusting as Needed
I take photos of my face every week to track changes. This helps me see the improvements in my skin’s texture, tone and hydration level over time. It’s also a great way to spot if something isn’t working or if I need to make an adjustment.
I’ve noticed that my skin’s hydration level improves by about 30% after four weeks of consistent use. This is something I can see in the photos and feel on my skin. It’s a real, measurable improvement that motivates me to keep going.
If I notice that my skin isn’t reacting well to a product, I switch it out for something else. I’ve tried a few different serums over the years, and I’ve found that the one with hyaluronic acid and vitamin C gives me the best results.
🌸 Sensitive Skin Routine
A gentle, fragrance-free routine that works for sensitive skin without irritation.
💰 Budget-Friendly Routine
An affordable, three-step routine that delivers visible results without breaking the bank.
🧘♀️ Minimalist Routine
A streamlined routine that uses only the most essential products for maximum effectiveness.
🎯 Targeted Routine
A routine that focuses on specific skin concerns, like brightening or hydration.
✨ Maintenance Routine
A routine that keeps your skin healthy and glowing with minimal effort.
| The mistake | Why it happens | The fix |
|---|---|---|
| Using too many products at once | Layering too many products can interfere with absorption and cause the skin to feel greasy or irritated. | Stick to a three-step routine and avoid adding products that aren’t necessary. |
| Skipping the serum | The serum provides an extra layer of hydration and brightening that makes a visible difference. | Use the serum consistently to maximize the benefits of the routine. |
| Not adjusting for skin type | Using the same products for all skin types can lead to issues like dryness or breakouts. | Choose products that are suitable for your skin type, such as non-comedogenic moisturizers for oily skin. |
| Using products with fragrances or alcohol | Products with fragrances or alcohol can irritate the skin and cause redness or dryness. | Choose fragrance-free and alcohol-free products, especially for sensitive skin. |
Related: Budget skincare layering for beginners
Simple Budget Skincare Layering
Related: Budget skincare layering checklist
The Role of Affordable Tools in Enhancing Layering Efficiency
Simple tools can make a big difference in how well your skincare layers work together.
I've found that using a clean, damp cotton pad for toner application helps prevent irritation and ensures even distribution. A good quality makeup sponge or a silicone spatula can be used to blend serums and moisturizers more effectively, preventing product waste and ensuring even coverage. These tools don't break the bank but can significantly impact how well your skincare layers integrate and work together.
When layering, I always start with the thinnest textures first, like toners and essences, and move up to thicker formulations such as moisturizers and oils. This prevents heavier products from sitting on top and clogging pores. I've noticed that using a small, clean brush for applying oils or concentrated treatments helps control the amount used, which is especially helpful when working with more expensive or potent products.
I also use a simple splinter brush to apply face oils after moisturizer, which helps distribute them evenly without overdoing it. This tool is essential for those who want to add a hydrating or nourishing layer without making their skin feel greasy. It's amazing how a few inexpensive tools can elevate the effectiveness of even the most basic skincare routine, making it feel more intentional and professional.
The Importance of pH in Layering for Budget Skincare
Understanding pH balance in skincare layers is key for effective, affordable routines. A mismatch can negate product benefits, leading to irritation or breakouts.
Investing a few minutes to research or test the pH of your skincare products can save you money in the long run by preventing wasted product and unnecessary breakouts. I’ve used a simple pH strip kit for under $10, which has been invaluable in guiding my layering choices. It’s a small, affordable tool that has made my skincare routine more effective and predictable. This tiny step has made a big difference in how my skin reacts to budget-friendly products, proving that even inexpensive routines can be highly successful with the right knowledge.
Common Questions
Can I skip the serum and still see results?
How much time does this routine take?
Is this routine suitable for all skin types?
Can I use this routine in the morning and at night?
References
- Stackable Medical-Grade Skincare for the Cosmetic Medicine Patient (pmc.ncbi.nlm.nih.gov)
- Assessment of Efficacy and Safety of the Use of Two Eye Gel ... (clinicaltrials.gov)
Cite this guide
Glowinlayers (2026). Simple Budget Skincare Layering. https://glowinlayers.com/simple-budget-skincare-layering/
Feel free to cite or share this guide.